


Hello there! Welcome to my first article for the #2Aricles1Week challenge series. And in this article i will be writing about how to upload a project to the python package index.
As a finalist in start.ng a remote internship for beginners I was given a final project to create a console platform that displays random algorithm questions gotten from a public API and then upload my console platform to the python package index.
Looks like a hard project right? Not to worry once you get a hang of a language the task is just as easy as buckling your shoes.
In this article I will only be explaining how to upload to the python package index.
Wondering what a python package is? Here's it!
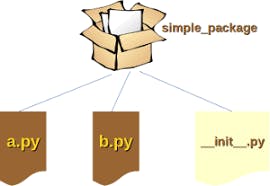
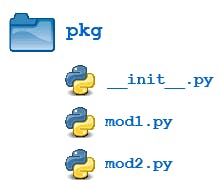
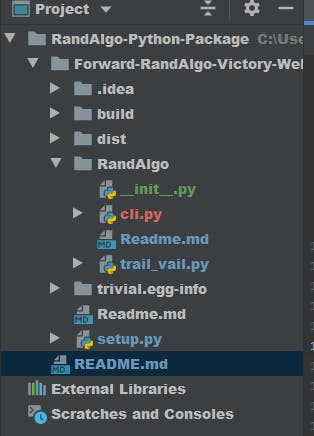
A python package can be called several names like a module, or a library. It is a project folder that has a init.py file and all other working files for your project.
Uploading just means making it available for any other person to use it by registering it as a python package so that people can install to use it using the pip command.
So sit back with a cup of tea or coffee and follow me.
First, you need a pypi account. Click here to register and get one. After registration a verification link will be sent to your email, kindly click on it to verify your account.
You should have a README.md file that has description about your project ready.
Next create a setup.py file in your project folder. This is important as setup.py is the build script for setuptools; it tells setuptools about your package and provides information such as name, version and other working files. It is meant to contain information about your package. Follow the following steps to setup your setup.py file as seen in the image below.
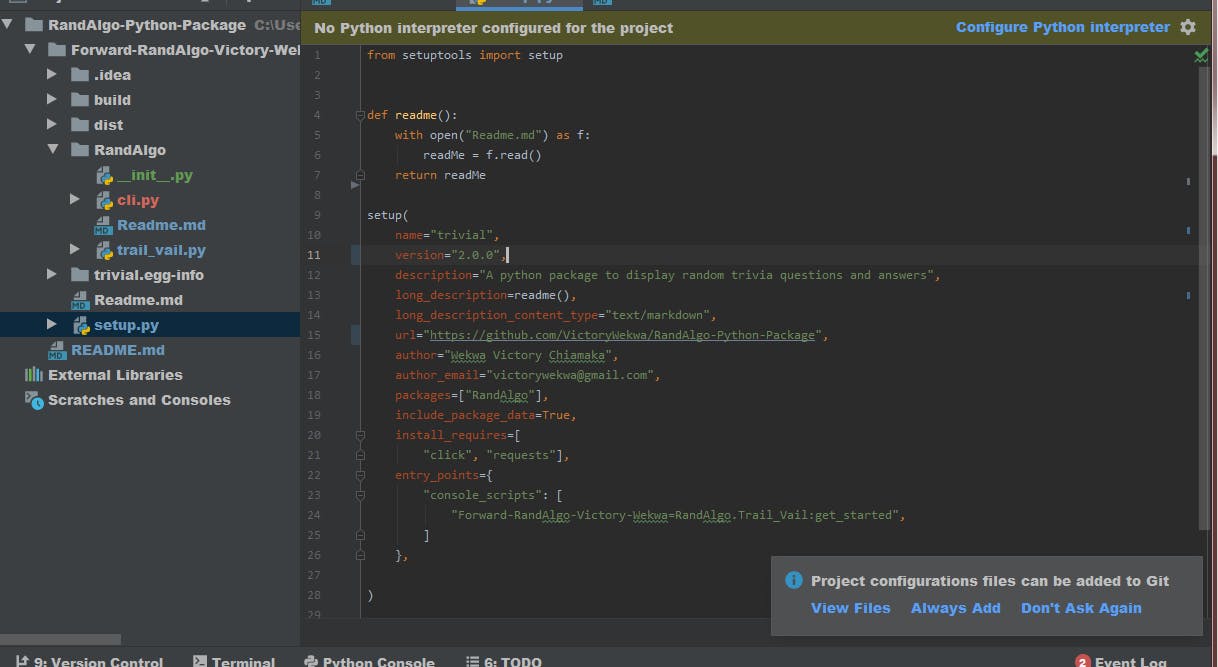
Import the setup from the setuptools. Setup and setuptools are package in Python that helps you set up your setup.py file .
name is the name you want to call your platform. Any name of your choice.
Version is the version of your platform. You can use any convention of your choice, 1.0.0 or 0.0.1.
Description is a short description of your package and what it does.
Packages is the name of your package. The one that contains your init.py file.
Include_package_data: Setting this to True is important so that all files in your package that are necessary for your platform to work can be included while publishing your package.
Install_requires : This are all the modules that is installed and necessary for your platform to work.
Entry_point: This is the entry point of your console platform, like a pathway for your console platform.
And should follow this naming convention:
project_folder=package folder.the name of the file that has your console platform function: The name of the function that controls your console platform.
You can choose to include the license in your setup.py file.
Nice that's all with setup.py file!
After creating your setup.py file , next step is to install your setup.py file and we will be doing this through the command prompt or terminal.
Go to your Command prompt or terminal and ensure you are in the directory of your project folder.
If you are not there, simply change directory by
cd "name of your project"
You should see the name of your project in your Command prompt now.
Install your setup.py file by doing:
setup.py install on your Command prompt.
After that still on your Command prompt do
setup.py sdist, bdist_wheel
This is to install the necessary distribution and binary distribution wheel for your package.
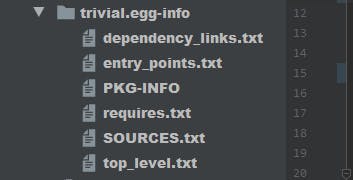
Go to your project folder you will notice some files have been added to it.
Amazing right?
Let's continue.
For the next step you need to install twine.
Still on the command prompt do
pip install twine
Wait for it to install , After installation.
Do twine check dist/*
this is you telling twine to check for the distribution files in your project folder to see if it has been created.
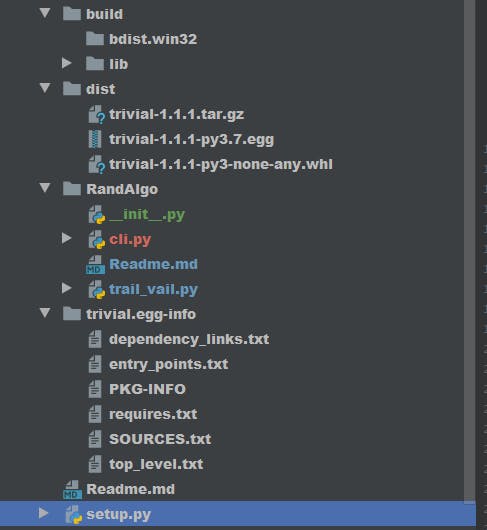
Noticed all the files now added to your project folder? That's right! We are good to Go!
The next step is to upload your package and for this you need the details from the pypi registration.
Still on the Command prompt
Do twine upload dist/ *
this is to upload your package and all the necessary distribution, You will be required to input your username and password from pypi registration.
Congratulations you just successfully uploaded your project to the python package index.
To see your uploaded package kindly go here and search for the package or login here pypi account you will see your published package.
You can know install your package just like any other python package using pip.
For more information on this click here .
Thank you for reading, if you have any questions kindly drop your comment or like this post.